-
SolidWorks 2013: Mass Properties

I’ve found that through the years of using SolidWorks across various industries, different toolsets are sometime utilized more with one type of product vs. another. In recent years as I have moved into working with Aerospace & Space products, Center of Gravity (Center of Mass) and Moments of Inertia are properties that I have to…
-
SolidWorks 2012: Drawing Enhancements

In many companies, Drawings are still were “the rubber meets the road”. Let’s take a look at what I think will be some of the more popular enhancements to the Drawing and Detailing area of SolidWorks 2012. I’ve tried to keep the descriptions short and sweet because like me, I’m sure many of you don’t…
-
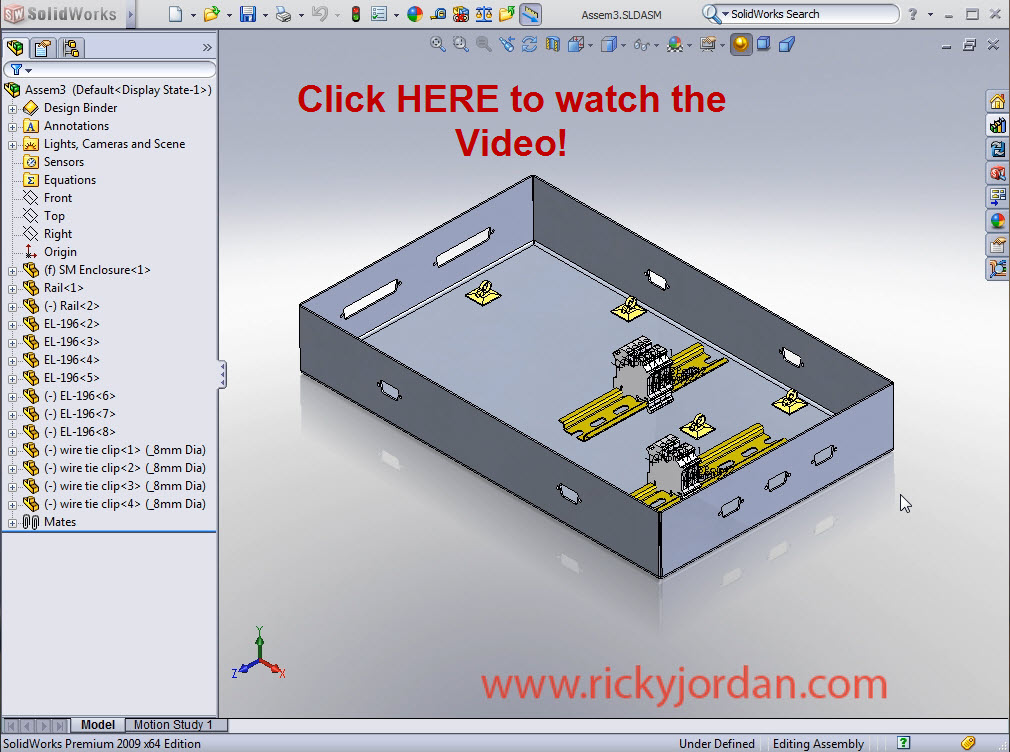
SolidWorks Electrical Routing – Part 3 (FINALLY!)
Almost two years ago I posted two videos to the site detailing the use of SolidWorks Electrical Routing. I had full intentions of producing a Part 3 but life as it does sometimes had other plans for me. Finally after several friendly reminders from readers via e-mail and comments on the site, I have released…
-
SolidWorks Electrical Routing – Part 1
After talking about it for quite some time here on the site, today marks the first installment on a series of posts on SolidWorks Electrical Routing. In this first example I guide you halfway through the creation of an Electrical Harness using what I call the “on the fly” method. This particular method is often…
-
SolidWorks 2009 SP2!
Well, Friday night just happened to be the perfect time for me to upgrade our seats at work to SolidWorks 2009 SP2. Overall things went smoothly and I was on my way home in time for some awesome pot roast served up by my multi-talented wife. So what’s new in SolidWorks 2009 SP2? Well, thanks…
-
First Look: PhotoView 360
Yesterday I posted a Sneak Peek of PhotoView 360 and today I am posting a First Look of PhotoView 360. PhotoView 360 Beta is now available for download at the Customer Portal so the rest of the NDA has been lifted. I can now talk about all aspects of the program. I honestly didn’t think…
-
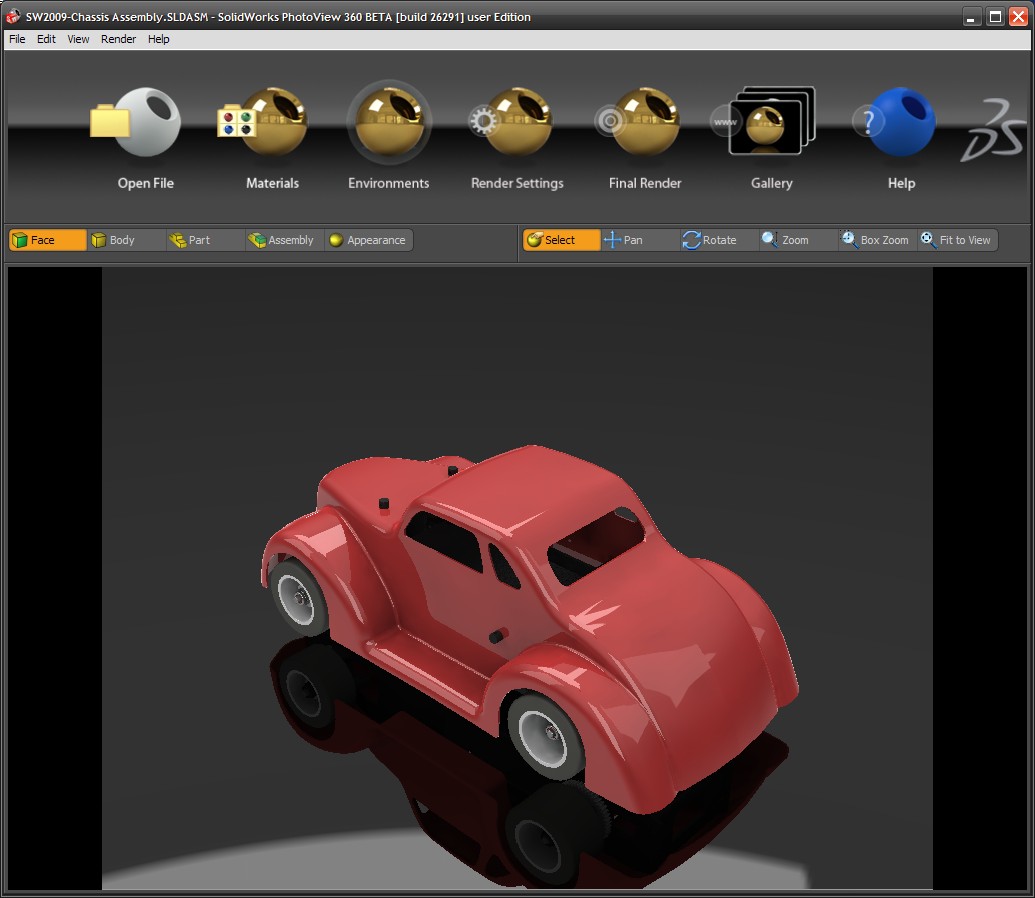
Sneak Peek: PhotoView 360

Over the past week or so as I have been reviewing a few of the enhancements of SolidWorks 2009, I have had to hold back what is perhaps my FAVORITE new addition to SolidWorks. Now that part of the NDA has been peeled away, lets talk about the newest product from SolidWorks. PhotoView 360. In…
-
SolidWorks 2009: Weldments

The Weldment functionality received some significant upgrades in SolidWorks 2009. The general result of these enhancements will be less time spent by the user generating Structural Members and less time needed to trim/extend components. The first change we will take a look at is the ability to create multiple Groups within a single Structural Member. …
-
SolidWorks 2009: Split Feature
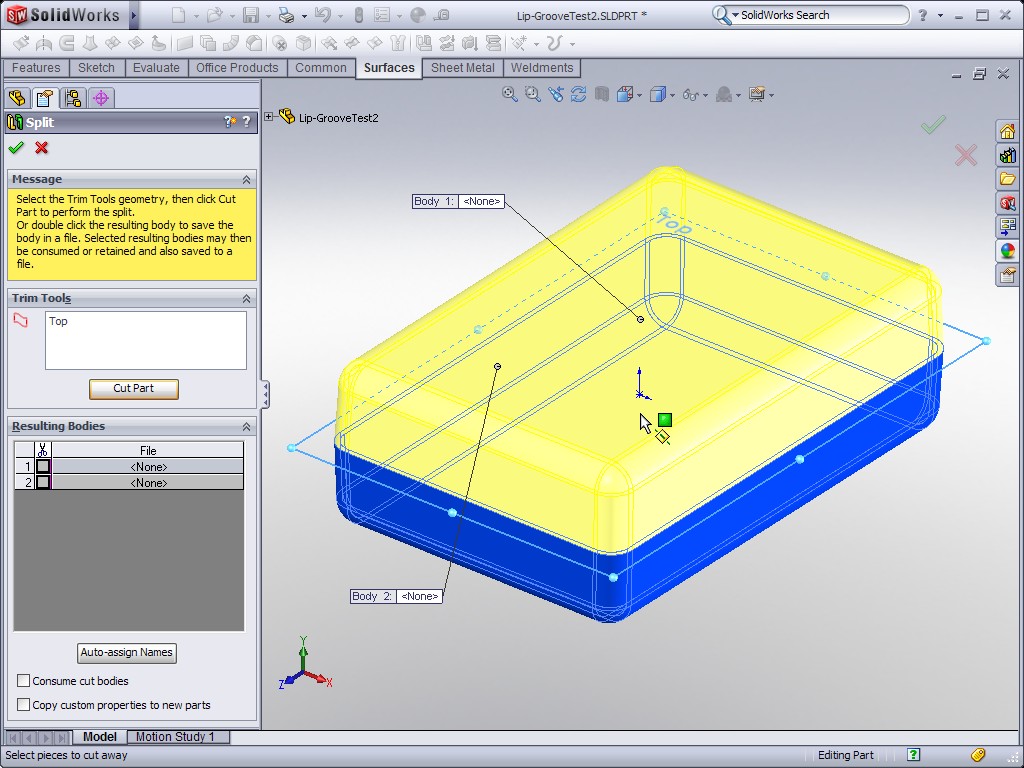
If you have used various commands to split parts in previous versions of SolidWorks you will especially appreciate the enhancements to the Split Feature in SolidWorks 2009. When you split a solid body into multiple solid bodies using the split feature, the software requires that you use a Trim Tool to direct how the parts…
-
SolidWorks 2009: Instant3D
Instant3D was introduced to the SolidWorks community in SolidWorks 2008. Naturally in the first revision since then there are a few new enhancements which are sure to come in handy. Instant3D can now be utilized in Assemblies! Using Instant3D you can modify assemblies sketches, features, & mates! It works pretty much the same as it…
-
SolidWorks 2009: CommandManager & PropertyManager
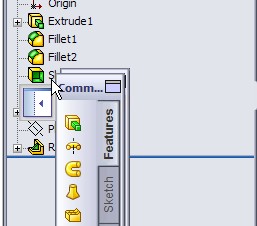
Some welcome options have been added to SolidWorks 2009 in the areas of the CommandManager & PropertyManager. First lets start off with the CommandManager. SolidWorks has added the capability to dock the CommandManger on the left and right sides of the screen. (You can still dock it across the top as before.) You can also…
-
SolidWorks 2009: Goodbye Colors. Hello Appearances!
One of the WELCOME changes in SolidWorks 2009 is the “consolidation” of Colors and Appearances. Colors/Optics have actually been removed from the software with Appearances left behind to manage it all. As I pointed out a few weeks ago, in SolidWorks 2008 you needed to be mindful of how you apply Colors and Appearances. Appearances…
-
SolidWorks 2009 Enhancement Highlights
IT’S TIME! 12:00AM August 4, 2008. Although I figured very few people will be reading this when it is posted, I wanted to make sure it got out in my subscriber e-mails which go out in the middle of the night. It’s time to start talking OPENLY about SolidWorks 2009. The purpose of this post…
-
SolidWorks 2008: Colors and Appearances

If you frequent any of the SolidWorks forums around the web you have probably seen discussions relating the differences and nuances of Colors and Appearances in SolidWorks 2008. This is a subject that does have a few users up in arms. To their defense, it can be a bit hard to get your arms around…