-
SolidWorks 2010: Sketch Pictures in Drawings
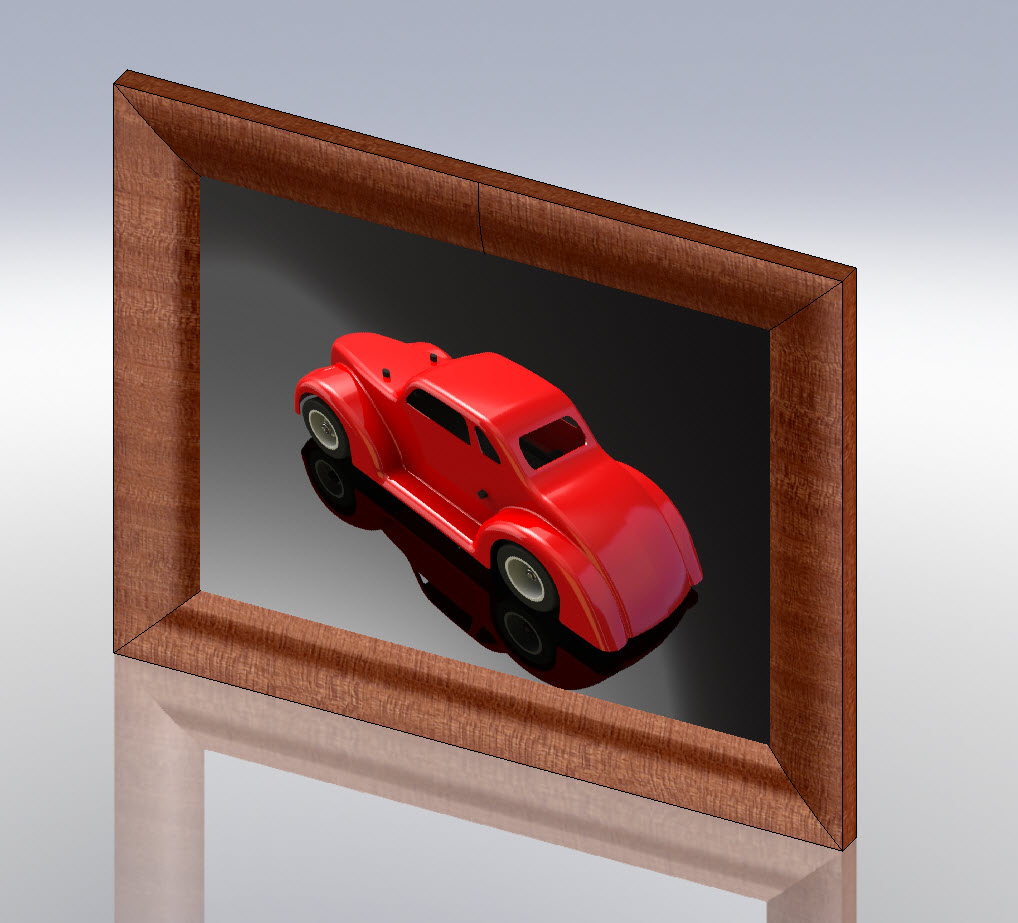
With my schedule relaxing a bit, I’m finally back in the groove and am excited to bring some new posts to the site. This one is kind of a “reminder post” of a new feature in SolidWorks 2010 that is easy to overlook. You can now show Sketch Pictures inserted in models on the Drawing! …
-
First Look: PhotoView 360
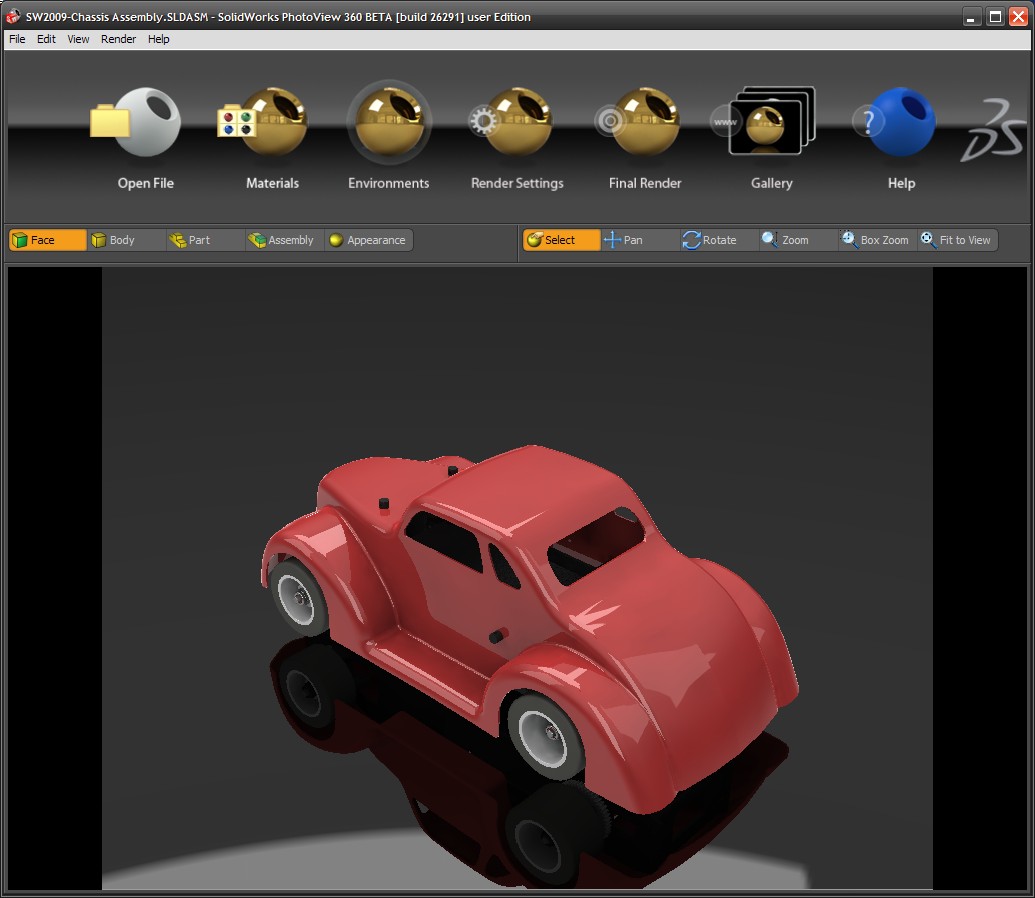
Yesterday I posted a Sneak Peek of PhotoView 360 and today I am posting a First Look of PhotoView 360. PhotoView 360 Beta is now available for download at the Customer Portal so the rest of the NDA has been lifted. I can now talk about all aspects of the program. I honestly didn’t think…
-
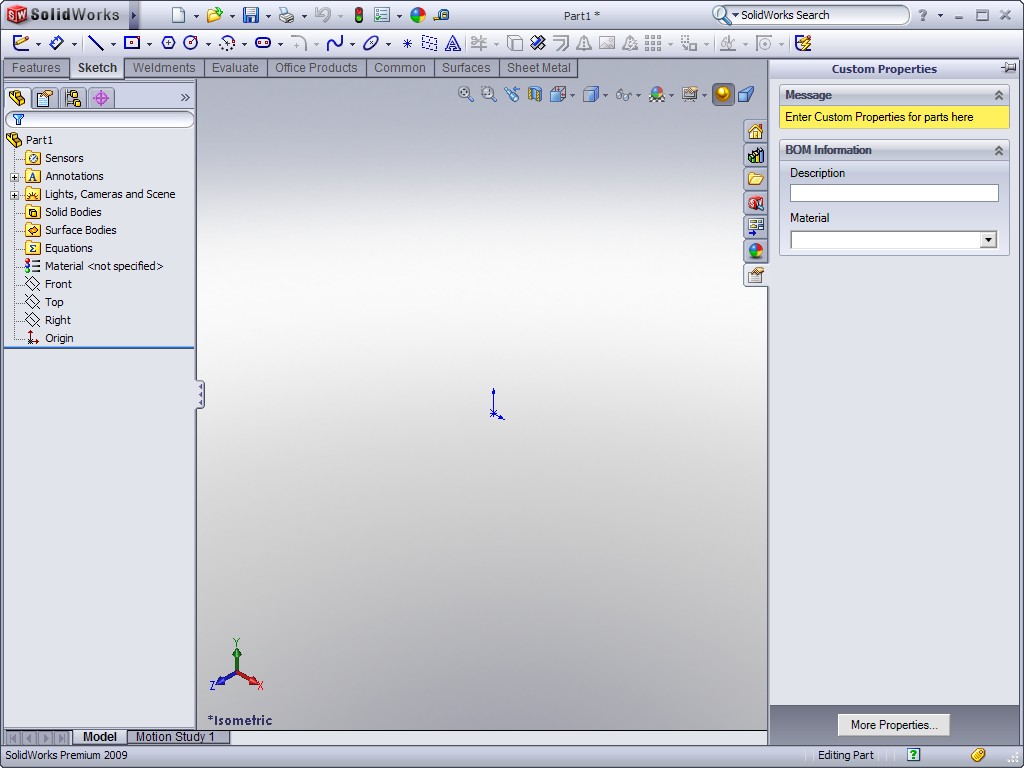
SolidWorks 2009: Goodbye Colors. Hello Appearances!
One of the WELCOME changes in SolidWorks 2009 is the “consolidation” of Colors and Appearances. Colors/Optics have actually been removed from the software with Appearances left behind to manage it all. As I pointed out a few weeks ago, in SolidWorks 2008 you needed to be mindful of how you apply Colors and Appearances. Appearances…
-
SolidWorks 2009 Enhancement Highlights
IT’S TIME! 12:00AM August 4, 2008. Although I figured very few people will be reading this when it is posted, I wanted to make sure it got out in my subscriber e-mails which go out in the middle of the night. It’s time to start talking OPENLY about SolidWorks 2009. The purpose of this post…
-
SolidWorks 2008: Colors and Appearances

If you frequent any of the SolidWorks forums around the web you have probably seen discussions relating the differences and nuances of Colors and Appearances in SolidWorks 2008. This is a subject that does have a few users up in arms. To their defense, it can be a bit hard to get your arms around…