SolidWorks World 2012 Top Ten List
Sat, 01/7/12 – 9:43 AM | 2 Comments

The SolidWorks World 2012 Top Ten List candidates are posted.  You can log in to the SolidWorks Forums (link provided above – click the picture) and vote your favorite ideas up or down.  Idea submission …

Read the full story »
SolidWorks News

SolidWorks Reviews

SolidWorks Tips

SolidWorks Video Tips

SolidWorks World

Home » SolidWorks Video Tips

SolidWorks Video Tip: 2009 Convert to Sheet Metal

Submitted by on Monday, September 29, 200814 Comments

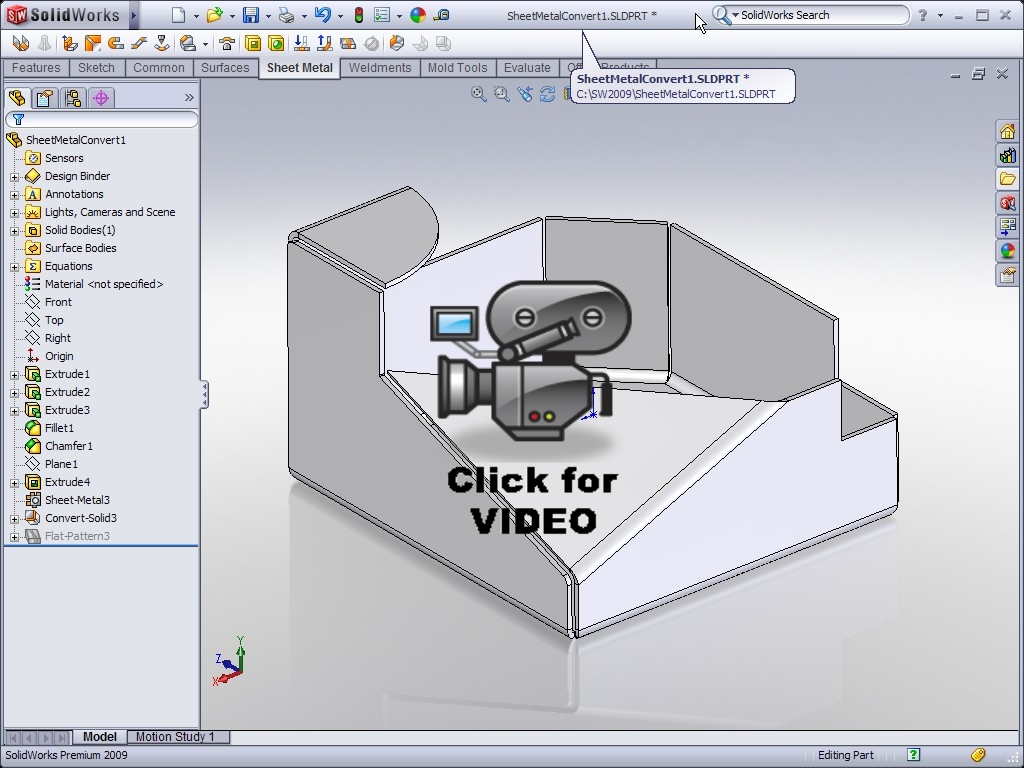
The Convert to Sheet Metal feature is a new tool available in SolidWorks 2009 that allows you to quickly create Sheet Metal parts from an existing solid model.  Click on the link below to see this new tool in action.

The voice over is getting better….still some room for improvement though!

Stay tuned….more to come!

Related posts:

  1. SolidWorks Video Tip: 2009 Sketch Slot
  2. SolidWorks Video Tip: 2009 Materials Database
  3. SolidWorks Video Tip: 2009 BOM Restructure
  4. SolidWorks Video Tip: 2009 Missing Reference Ghosting
  5. SolidWorks Video Tip: Using Multiple Split Features

  • arash

    is this new feature, powerful and predictable enough to be used in realworld complex applications and as a replacement to the old method?
    Thanks!

  • http://www.rickyjordan.com Ricky Jordan

    arash,

    I have tried it on a few different parts and the results look really good. I have not used it in a production environment as of yet, but do believe it is a stable tool. This tool opens up a whole new thought process of creating sheet metal parts. If you check out the What's New document, it also has some applications with imported parts. I'll try to cover that aspect of the tool in a later post.

    Thanks for reading!

    Ricky

  • Neil

    Very good. Actually this reminds me of the UV texture unwrap process in Blender.
    I wonder if the concept could be extended to include a flattening of simple pressed parts by least squares.

    P.S. It does sound a little like you have sheetmetal underpants but at least there's no heavy breathing with it this time ;) – or maybe you took that out? :D

  • http://www.rickyjordan.com Ricky Jordan

    LOL! Yeah…there was some echo with it. It wasn't there in Camtasia until I processed the video to Flash format. It was late last night when I did it so I figured I would go ahead and post it and work on the audio problems for the next video.

    Glad you like the video. I hope folks find them useful.

    Ricky

  • http://nutritionfoods09.blogspot.com/ nutrition foods

    nice article! nice site. you're in my rss feed now ;-)
    keep it up

  • Valentin Perez

    nice article! nice site. you're in my rss feed now ;-)
    keep it up

  • William A Iuchs

    nice article! nice site. you're in my rss feed now ;-)
    keep it up

  • Jean J Abts

    you are on my rss reader now

  • http://www.midwestmetal.com/ Midwest Metal

    Thanks for sharing this, Ricky. This is very helpful.

  • http://www.buyawardsandtrophies.com/ Acrylic Awards

    Very interesting new feature. The company has proven to be worthy of the awards they garnered by continuously pursuing the improvement of Solidworks with its features along with updated tutorials to make the interface easier.

  • http://www.maytagwashingmachines.org Maytag Washing Machines

    Great article and features. Awesome rad and I will continue to read more. Thanks

  • creditsolutions

    It was late last night when I did it so I figured I would go ahead and post it and work on the audio problems for the next video.

  • http://refurbishedhplaptops.net Refurbished HP Laptops

    Great tips, this is absolutely what I need…

  • Knechel

    This is not directly related to this post, and perhaps it has been discussed elsewhere on this site, but…
    I have only used the solidworks sheet metal tool a few times, and have found it to be pretty nice. I have been using the sheet metal tools in Unigraphics NX5 at work, and I have found the two tools (solidworks and nx) to be very similar. In NX when you create an edge flange you have the option as to whether or not you want the flange to be the full width of the selected edge, align with one side of the selected edge, extending along the edge a given distance, or simply float somewhere between the two end points of the edge. How do you create a flange like this in solidworks? Certainly solidworks does not expect that every flange you create will run the full length of the adjacent edge! Am I missing something here? Thanks!